Flower photography composition rules
6 min read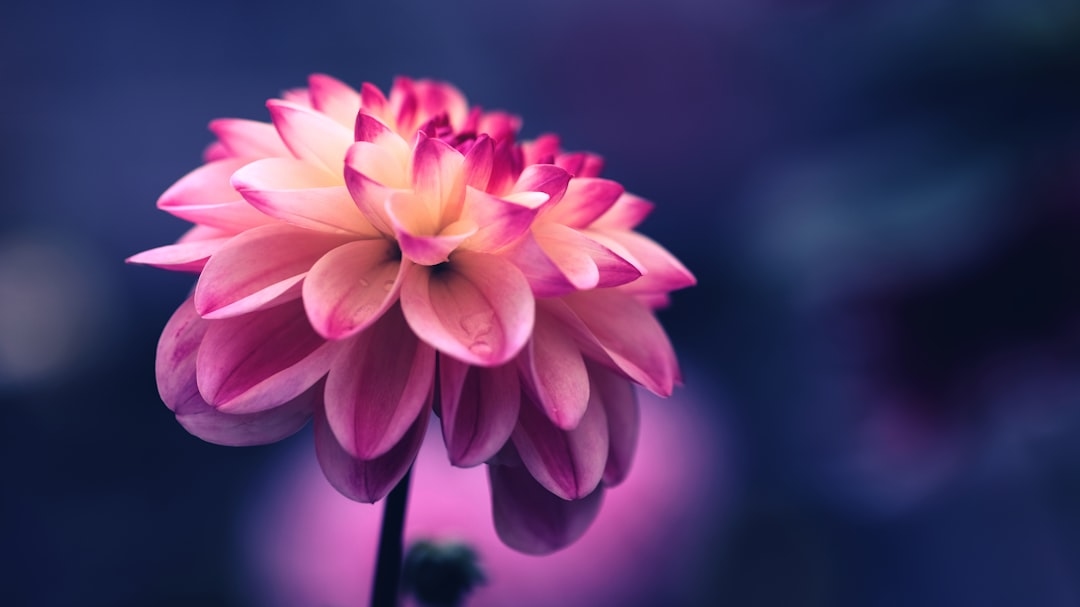
Contents:
- Quick Answer: What Are the Must-Know Flower Photography Composition Rules?
- Rule of Thirds: Framing With Intention
- How It Works
- Centered Subjects: When to Break the Rule
- Background Control: Less Is Always More
- Neutral vs. Bold Backgrounds
- Focal Point: Put One Flower in the Spotlight
- Light: The Secret Ingredient
- Tips for Working With Light
- Fill the Frame: Get Up Close and Personal
- Depth of Field: Make Your Subject Pop
- Lines, Curves, and Color: The Artful Touch
- Leading Lines and Movement
- Color Contrast
- Quick Takeaways Checklist
- FAQs: Flower Photography Composition
- What is the best time of day to photograph flowers for optimal composition?
- Do I need a special camera for high-quality flower photos?
- How do I blur the background in flower photography?
- What’s the most common mistake in floral composition?
- How can I make my flower photos stand out on US social media?
- Try This for Your Next Bouquet Shot
Flower Photography Composition Rules: Expert Techniques for Stunning Floral Shots
A bouquet is fleeting, but a photograph lasts forever. Picture a dewdrop trembling on the silky lip of a magenta peony, or the fierce sunburst symmetry of a golden California poppy. In 2026, with smartphone cameras rivaling pro gear, the difference between a flat snapshot and a gallery-worthy floral portrait isn’t hardware–it’s how you compose the shot. Floristry and photography have always gone hand-in-hand, but capturing the soul of a flower means knowing the rules of picture-perfect composition.
Quick Answer: What Are the Must-Know Flower Photography Composition Rules?
The core flower photography composition rules are:
- Use the rule of thirds to position your main subject
- Control background clutter for clean contrast
- Focus on one compelling bloom or cluster
- Play with natural light–morning or golden hour is best
- Fill the frame, but leave room for “breathing space”
- Mind your depth of field for artful blur (bokeh)
- Emphasize lines, curves, and color contrast
These basics guide both beginners snapping roses in their backyard and professional florists shooting for 1-800-Flowers. Master these, and every daisy or dahlia becomes the star.
Rule of Thirds: Framing With Intention
Instead of centering your subject, imagine your camera screen overlaid with a tic-tac-toe grid. The rule of thirds places the most important part of your flower–say, a brilliant sunflower head–where the lines intersect. This time-tested photographer’s trick draws a viewer’s eye into the frame naturally.
How It Works
- Place the flower off-center for a more dynamic image.
- Leading lines, like a tulip stem, can run along these grid lines for flow.
Florist-photographer Lauren Shuler, owner of Seattle’s Blooms & Pixels, swears by this method: “An off-center peony radiates energy. It feels alive, not staged.”
Centered Subjects: When to Break the Rule
Sometimes, symmetry is the whole story–a single, perfect ranunculus demands to be front and center. The key is choosing the style with intention, not out of habit.
Background Control: Less Is Always More
A messy garden or cluttered table can steal the show from even the most exquisite flower. The background sets the stage and makes or breaks floral impact.
Neutral vs. Bold Backgrounds
| Background Type | Best For | Pros | Cons |
|---|---|---|---|
| Plain (white wall, gray paper) | Single blooms, studio shots | Focuses attention, versatile | Can look sterile |
| Natural (foliage, blurred garden) | Bouquets, wildflowers | Adds context, depth | Risk of distractions |
| Contrasting color (blue sky, black backdrop) | Vibrant flowers | Makes colors pop | Can overpower subject |
Expert tip: Use a wide aperture (f/1.8 to f/3.5) to blur the background and set your flower apart.
“A clean background is like a velvet jewelry case for blossoms–you want viewers to notice the gem, not the box.”
– Jenna Lee, Certified Floral Designer, Dallas
Focal Point: Put One Flower in the Spotlight
A bunch of blooms can compete for attention. To create drama and clear storytelling, pick a “hero” flower and let it lead.
- For mixed bouquets, focus on the most striking hue or shape.
- Try shooting low so the main bloom towers above the rest–think of the classic Georgia O’Keeffe poppy close-up.
If photographing arrangements for clients like Teleflora or local deliveries, make sure their signature flower takes center stage. It’s not just aesthetics; US studies in 2025 showed Instagram users linger 42% longer on images with a strong focal point than cluttered ones.
Light: The Secret Ingredient
Lighting transforms mood, depth, and color. Morning light brings soft, cool clarity, while the famed “golden hour”–just after sunrise or before sunset–wraps petals in a warm, flattering glow.
Tips for Working With Light
- Shoot outdoors on cloudy days for even, shadow-free illumination.
- Indoors, use north-facing windows or a light diffuser to soften harsh sunlight.
- Avoid direct noon sun. Overhead light flattens textures and washes out colors.
For dramatic close-ups, try backlighting–letting sunlight shine through petals. This technique makes even grocery-store lilies look celestial.
Fill the Frame: Get Up Close and Personal
Macro photography unlocks hidden detail, from pollen grains to intricate veining. But crowding the frame doesn’t mean leaving no room to breathe.
- Use your phone’s “portrait mode” or a 50mm lens to get close without distortion.
- Leave subtle negative space to give viewers’ eyes a place to rest.
Too many petals jammed against the edges create visual tension. Instead, step back an inch. As New York floral photographer and design educator Marco Alvarado explains, “Blossoms need a little air around them–just like in a vase.”
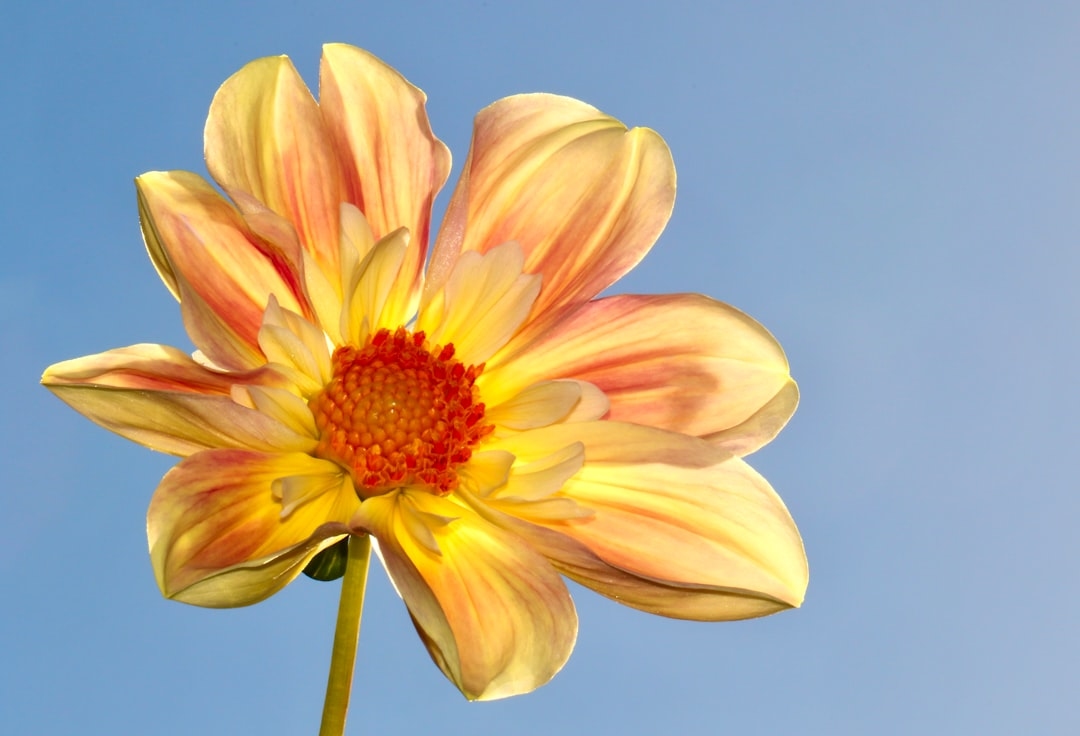
Depth of Field: Make Your Subject Pop
A blurry background (bokeh) keeps the focus on your chosen flower, especially in busy gardens. This is where fancy camera settings shine, but most smartphones in 2026 can achieve it with “aperture priority” or “portrait” features.
- Shoot wide open (lower f-stop numbers) for maximum blur.
- Set your focus point right on the flower’s center or stamen.
Not all blur is equal–soft bokeh with circular highlights flatters florals. Avoid backgrounds with hard lines or bright spots that can distract.
Lines, Curves, and Color: The Artful Touch
Flowers naturally lend themselves to graceful composition. Use lines–arching stems, spiraling petals–to lead the eye and create rhythm.
Leading Lines and Movement
- Diagonal and S-shaped curves suggest energy and elegance.
- Repeating shapes (like lily pads or daisy petals) reinforce pattern and unity.
Color Contrast
Opposite hues (yellow and purple, red and green) pop against each other. If you’re styling for US flower delivery sites, consider their brand colors when composing shots–branding consistency boosts click-through rates by up to 18%, according to a 2026 marketing study.
Quick Takeaways Checklist
- Check your composition grid before clicking
- Focus on one flower or detail
- Watch the background–clean and simple wins
- Use soft, natural light
- Blur the rest, spotlight the best
- Let stems and lines guide the eye
- Leave space for the flowers to “breathe”
FAQs: Flower Photography Composition
What is the best time of day to photograph flowers for optimal composition?
Early morning or late afternoon–when the sun is low–offers soft, warm light that flatters petals and brings out detail. Avoid harsh midday sun, which can create unwanted shadows and washed-out colors.
Do I need a special camera for high-quality flower photos?
High-end cameras like the Canon EOS R7 or Sony Alpha a7R V offer cutting-edge macro and depth-of-field control, but flagship smartphones (iPhone 16 Pro or Google Pixel 10) in 2026 easily produce gallery-worthy shots with portrait and macro modes.
How do I blur the background in flower photography?
Use a wide aperture (low f-stop, such as f/2.2) for DSLR and mirrorless cameras. On smartphones, switch to “portrait mode” or use manual focus apps that simulate shallow depth of field.
What’s the most common mistake in floral composition?
Crowding too many blooms into the frame without a clear focal point. This dilutes impact and confuses the viewer. Always choose one flower or element to feature.
How can I make my flower photos stand out on US social media?
Mix up angles (shoot overhead, side-on, or from ground level), use bold color contrasts, and edit with US-popular apps like VSCO or Adobe Lightroom Mobile to refine tones and add signature style.
Try This for Your Next Bouquet Shot
Next time you unwrap a fresh delivery from The Bouqs Co. or stroll through a farmer’s market stand, look at the bouquet through your camera’s grid. Find one bloom begging for attention, clear the clutter behind it, and shoot just as the morning light catches the petals. Then–tweak, crop, experiment. Rules are the basket; your creativity is the bouquet. Start there, and your flower photos will bloom on every scroll.